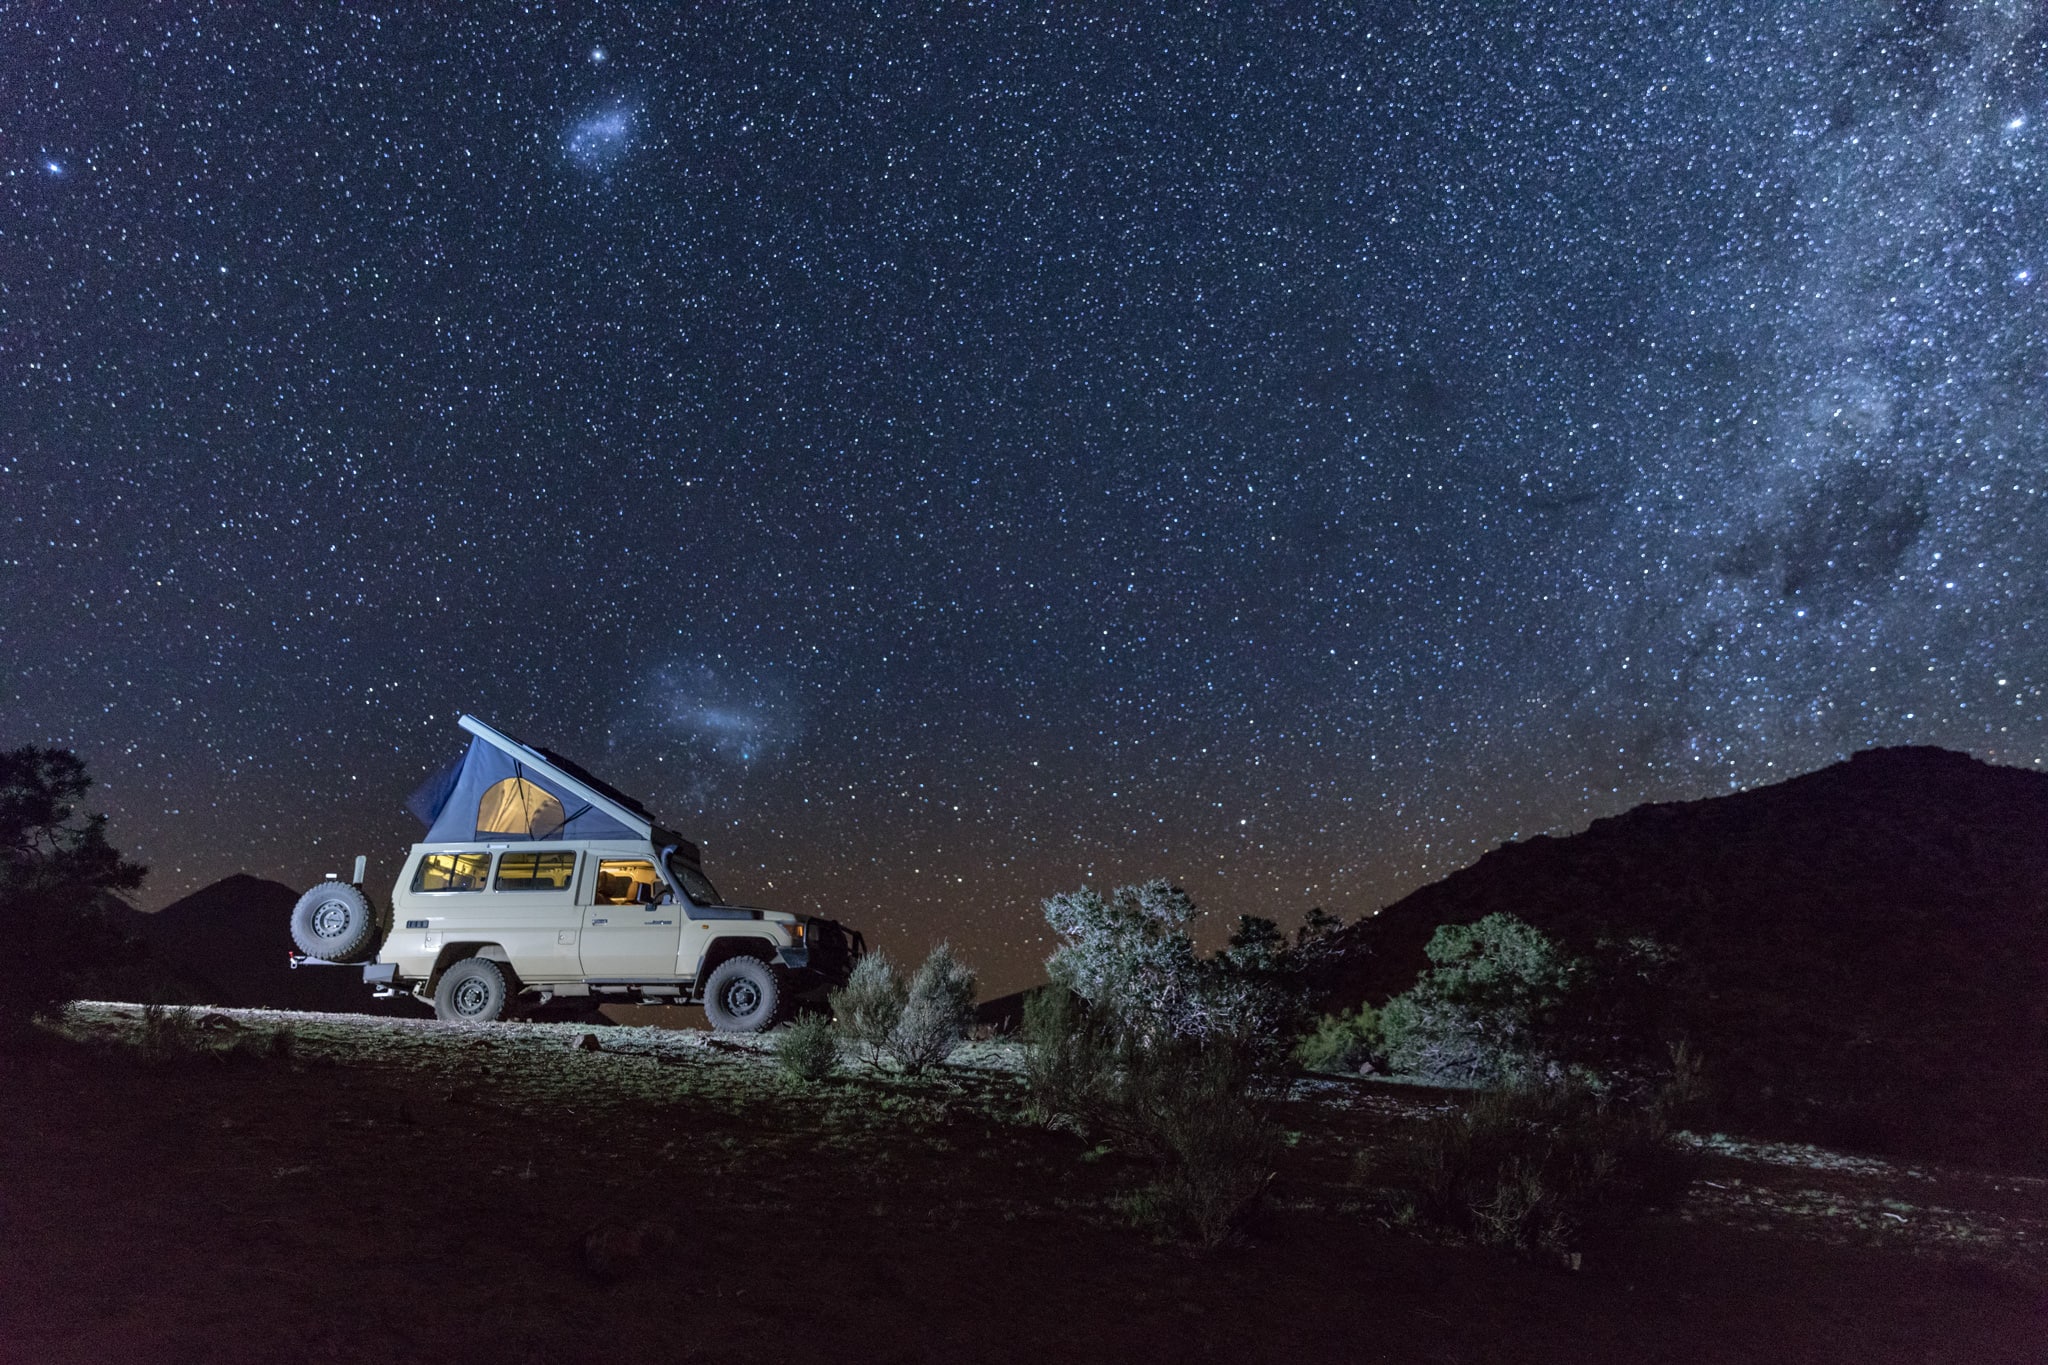
Recently we posted a photo on Facebook and Instagram that shows our campsite under a brilliant canopy of stars in Chile’s Elqui Valley. Stargazing in the Elqui Valley was a highlight of our travels in Chile, which also presented a perfect opportunity to try out night sky photography – a first for me.
Since posting our photo, we’ve had several people ask how to photograph stars. That said, I thought I’d put together a quick post that describes the process I went through to capture these shots. Hopefully, you’ll find my first-time perspective useful if it’s an area of photography you’re interested in as well.
Table of Contents
Disclosure: This page may contain affiliate links. Clicking through for additional information or to make a purchase may result in a small commission at no extra cost to you.
Step 1: Planning How to Photograph Stars
Goal
Since it was my first time photographing stars, I kept it simple. My goal was to capture an image that conveys the beauty of our campsite under Elqui Valley’s spectacular night sky. To achieve my goal, I had two elements in the photo I needed to capture:
Foreground:
Our Land Cruiser with roof tent raised and lights on inside
Background:
A huge sky filled with brilliant stars (and, if possible, the Milky Way)
Camera Gear
I’m using a Canon DLSR setup and selected the following gear for my shoot:
DSLR Camera:
I used my 5DSR. As expected, the 5DSR yielded more noise than I’d like so I probably wouldn’t recommend it as my first choice. Any DSLR with manual controls should work fine, and if I had a choice, I’d probably go with a camera body that has better high ISO / low light performance.
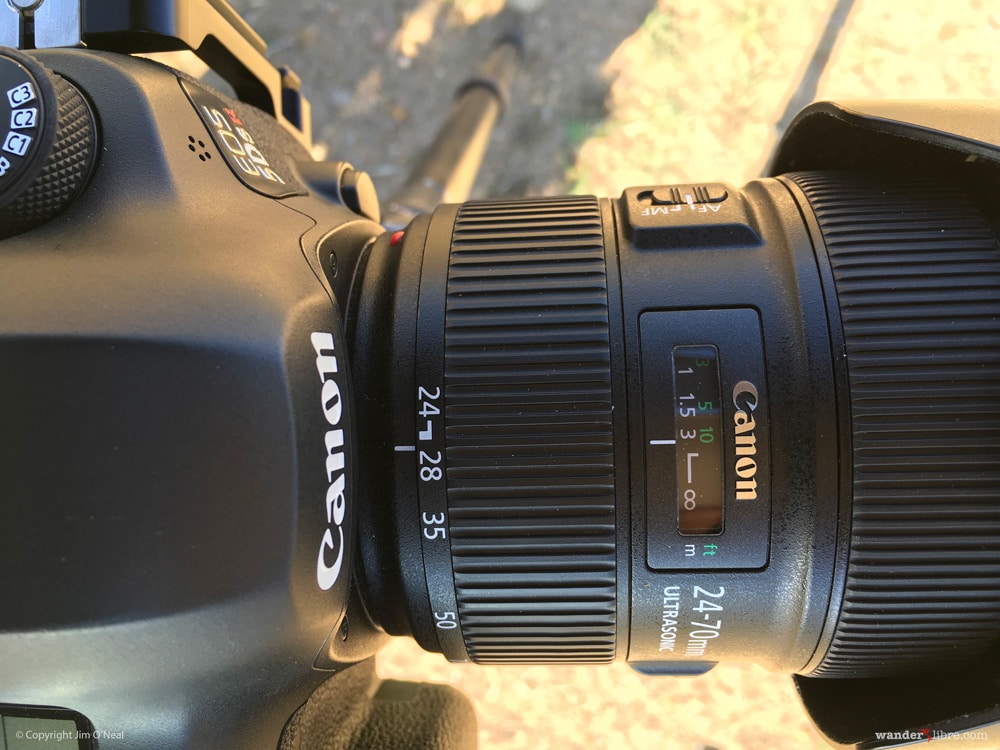
Fast / Wide Angle Lens:
Shooting in low light conditions with significant separation between foreground (Land Cruiser) and background (stars) elements required a lens with an acceptable combination of speed and depth of field. To accomplish this, I went with my Canon 24-70mm f2.8 for the 24mm / f2.8 combination.
Sturdy Tripod:
I knew I’d be taking a long exposure of up to 30 seconds, so a sturdy tripod was a must. My Gitzo GT3542LS 6x Carbon Fiber Tripod with Sirui K-40X ball head proved an excellent choice.
Lighting:
I needed to illuminate our Land Cruiser so that it was visible in the near total darkness of a moonless night. After experimenting with several options, I found that using a headlamp to “paint” the outside of the Land Cruiser, and a string of warm white LED fairy lights to light the interior (see details below), provided the illumination I was looking for.
Laptop / Post Processing Software
All images were shot in RAW format, and I used my MacBook Pro Retina 15 and Adobe Photoshop CC / Bridge (ACR) to process each image. This was necessary to achieve the desired result.
Location, Weather, and Timing
At the most basic level, taking a photograph the stars at night is about capturing tiny dots of light with the camera. Doing this effectively comes down to selecting a combination of location, timing, and weather that minimizes unwanted light and maximizes visibility.
Location & Weather:
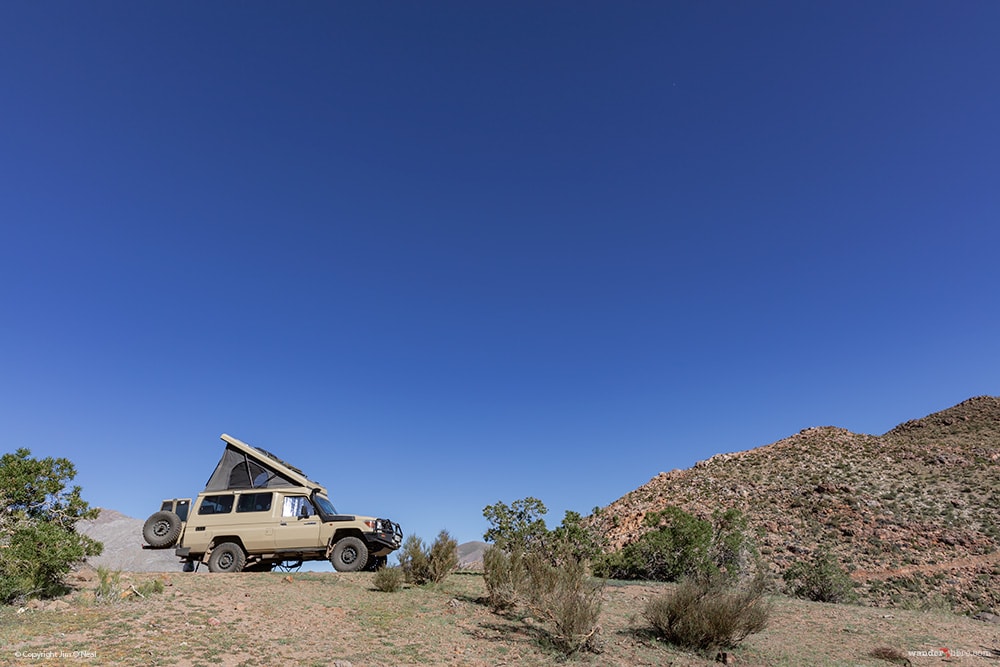
We selected the Elqui Valley because it has that rare combination of consistently good weather (i.e. clear skies) and very little light pollution from man-made sources like cities. For our campsite, we chose a spot high atop a mountain, which offered an unobstructed view of the night sky. This location made composing the photo easier as our campsite was free of trees, buildings, and other obstacles to block our view of the sky.
Timing:
Just as I wanted to avoid man-made light pollution, I also wanted to minimize the moon’s bright light, which can wash out the tiny light put off by stars. To do this, we timed our trip to the Elqui Valley to be within three days of a new moon, which allowed us to take photos when the sky was at its darkest and the stars at their brightest.
Composition
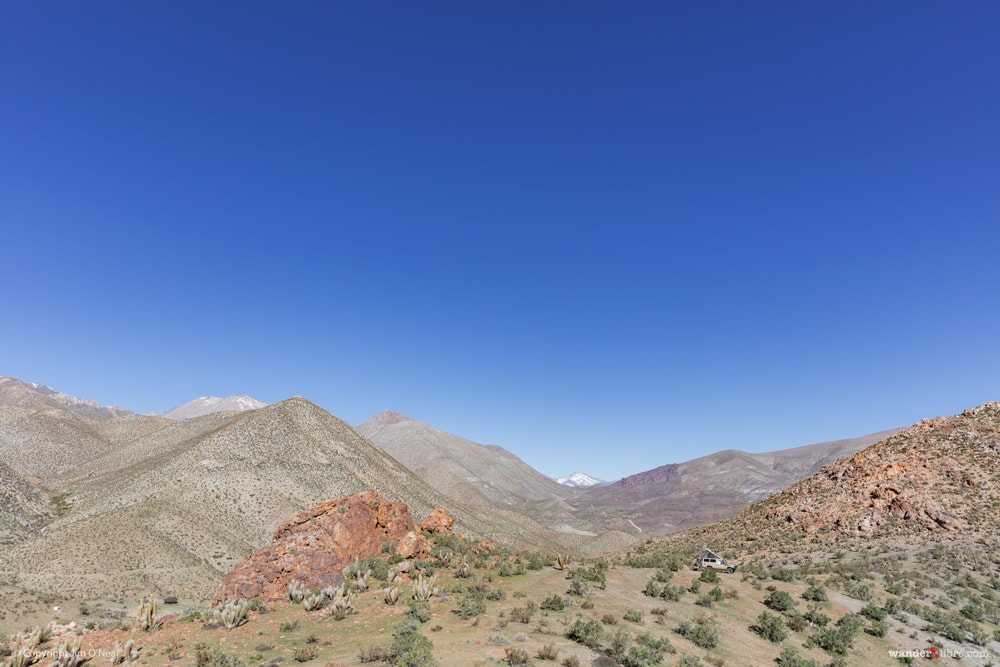
As I mentioned above, we kept things simple with only one foreground subject (Land Cruiser). Additionally, we tried to keep the background straightforward by aiming to capture a brilliant sky full of stars rather than integrating specific constellations. The only additional background element we included in some shots was the Milky Way.
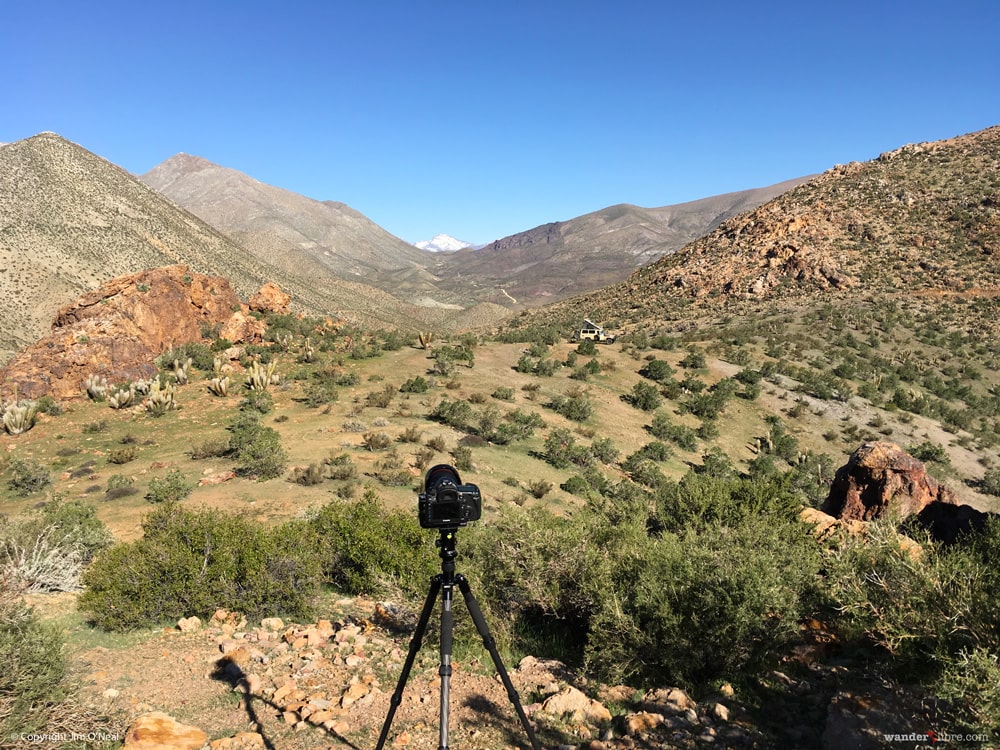
I selected my desired composition during the day as doing so in the pitch black of a moonless night would have been more challenging. To accomplish this, I took a series of snapshots, which framed our Land Cruiser against a vast sky. Comparing various compositions, I selected the ones I liked best and planned for those shots.
Once I selected my composition, I set up a tripod and recorded the correct focus. I did this for two reasons. First, I wanted to have all the legwork completed before dark so that all I needed to do was shoot. Second, setting my focus when there was plenty of light made life easier, as autofocus systems struggle to lock focus in low light, and manually setting focus is challenging when it’s too dark to clearly see the subject.
Note that I also took several photos with focus set on the stars rather than my foreground subject for two reasons:
- Should my depth of field be too shallow to render both my Land Cruiser and the stars in focus, then I could combine an image focused on the foreground with one focused on the stars to achieve an image where both foreground and background elements are acceptably sharp.
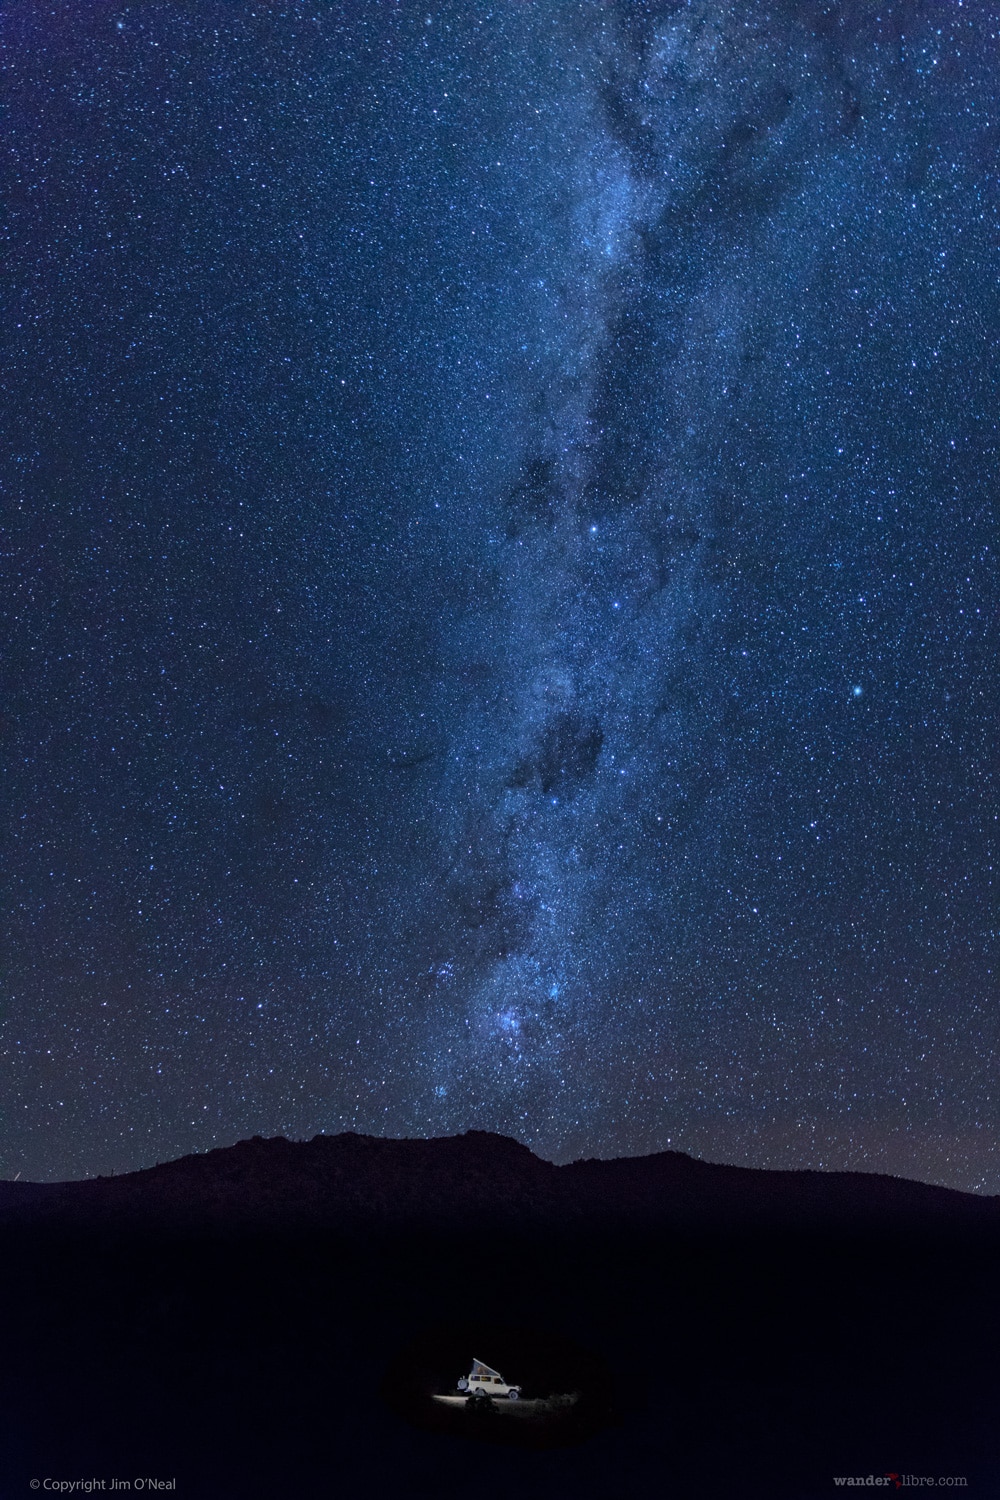
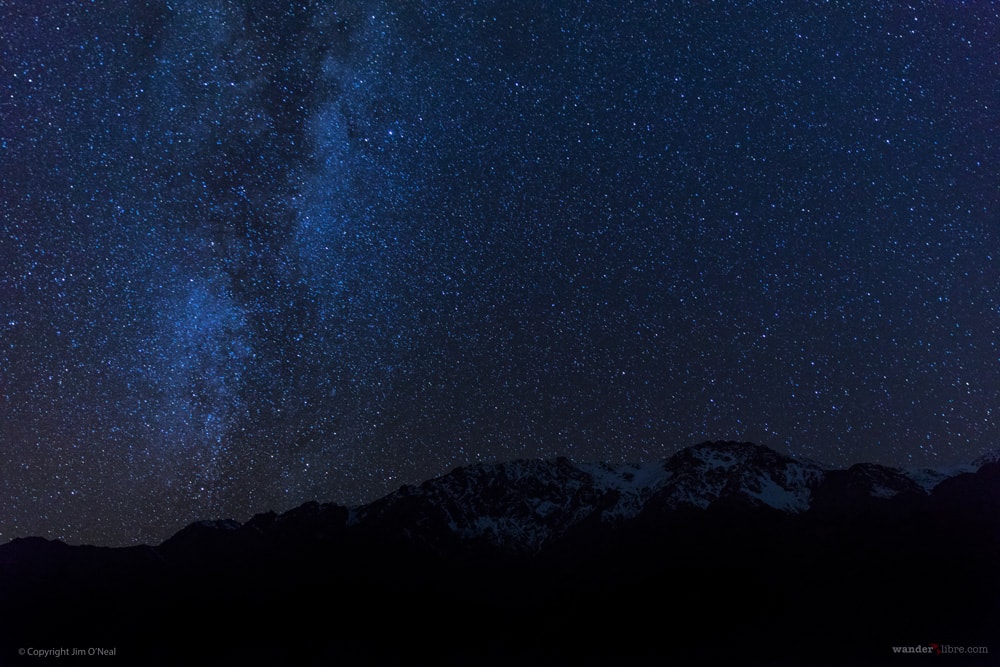
- I also wanted to take a few photos with no foreground subject – only the stars.
For these shots, I simply set focus at infinity and then tweaked slightly so my stars were acceptably sharp.
Exposure
The other thing I did before dark was set a starting point for a correct exposure. To do this, I took a simple approach:
Aperture: f2.8
I set the aperture at f2.8 knowing I’d need to capture as much light as possible.
Focal Length: 24mm
I used a focal length of 24mm to increase depth of field and help compensate for the wide aperture of f2.8. Shooting with a wide lens also made it easy to include an expansive sky in the frame.
Shutter Speed: 25 Seconds
I set the shutter speed to the maximum length I could without getting star trails (when stars begin to show as a line rather than a dot due to the rotation of the earth). To calculate the maximum shutter speed, I used Dark Skies, a nifty iPhone app. Basically, to use the app, you only need to input your camera make/sensor type and focal length and it provides the max shutter speed. In my case, I input ‘Canon Full Frame’ with a focal length of 24mm and Dark Skies calculated a max time of 25 seconds.
ISO: 3200
I tried to keep this simple as well. To start, I set the ISO at 3200, which was the highest value I was comfortable using with my camera. Once I started shooting, I adjusted the ISO over a series of photos until I achieved an exposure I was happy with.
Step 2: Execution
As a newbie to star photography, I knew there would be a learning curve, so I allowed plenty of time to get everything right. With that in mind, I started shooting two nights before a new moon. Here's a summary of how we approached each night’s shoot:
Night 1:
The first night was more about figuring out the mechanics and less about taking a perfect photo. Specifically, we focused on identifying the best time of night to take the photo as well as understanding foreground lighting and exposure.
Time of Night
We started taking photos at dusk – taking a series of photos every hour through midnight. As expected, early evening produced a deep blue background but less pronounced stars. Mid-evening produced more brilliant stars, but the Milky Way wasn’t as visible. After 11 pm I got my best results with brilliant stars and a pronounced Milky Way.
Foreground Lighting:
Lighting was probably the most time consuming to get right. By foreground lighting, I mean the way we illuminated the interior and exterior of our Land Cruiser (mentioned above).
Interior: I thought this would be easy. We have several LED lights inside our vehicle including warm white LED fairy lights I thought we could use to light up the inside. Try as we might, this simply didn’t work. The lights, which are located along the ceiling, were simply too intense, even if we only left them on for a short time during the exposure. Our solution was to use a separate set of warm white LED fairy lights coiled up on the floor in the rear living area. During a 25 second exposure, this filled the entire vehicle with a nice warm light that closely approximates the look of our Land Cruiser at night.
Exterior: This was the fun part. In a moonless night, high atop a mountain, where there’s no light pollution, it’s so dark you can’t see your hand in front of your face. To make our Land Cruiser visible in the photo, we used a headlamp to illuminate the outside of the vehicle. To do this, Sheri, standing out of the frame, turned the headlamp on and “painted” anything we wanted to illuminate. The longer we painted light onto an area (or the brighter the light), the brighter that area was in the photo. To achieve our desired look, Sheri would turn the light on briefly – just long enough to quickly paint the side of the Land Cruiser, ground, and bushes in around the vehicle. Too much light and the effect feels unnatural/unappealing.
Exposure:
Getting the exposure right proved easier than expected. Going in, we thought we would have to take multiple exposures and combine them in Photoshop to compensate for the difference in foreground and background lighting as well as the massive distance between our foreground subject and the stars, which we thought would be well beyond the limits of our depth of field. In reality, the process was easier, as our single exposure images stayed within an acceptable level of focus, and I was able to compensate for the difference in foreground/background light in Photoshop. That said, we were able to shoot single exposure images with the following camera settings for star photography:
Aperture: f2.8 (never changed)
Shutter Speed: 25 seconds (tried other settings but final images were at 25 sec)
ISO: 800-3200 (depending on time of night each photo was taken)
Night 2:
Having worked out our exposure, lighting, and timing, we spent some time during the day tweaking our composition. To maximize our options, we recorded tripod and focus settings for four different locations. With all of our camera settings worked out, our second night was much smoother. We only needed to wait until our desired shooting time of 11 pm and then shoot a series using the settings from the previous night and pre-arranged locations setup earlier in the day.

Night 3 (New Moon):
We followed the same process as night 2, simply making tweaks and adding a few additional composition options. Here are a couple of additional photos, which we took on the third night.
So that’s pretty much it. Am I happy with the results? Yes, I enjoyed the experience, learned a lot, got some pictures of the night sky that I'm happy with and came away excited about the next new moon and all the photographic possibilities that come with it. Could I have done it better? Sure. I'm a newbie's at photographing the stars. I think I got the basics right but there's so much opportunity to make my images better. That's what's got me excited about the next new moon.
If you’re thinking about night sky photography, I’d recommend giving it a try. While I'm still new to photographing the night sky, I'm happy to share what I know and answer any questions you may have. Just drop us an email and I'll do my best to help!